How to develop with Dev Containers
In the previous article, “Dev Containers – The Future of Software Development Environments”, we gave a broad introduction to this technology and recognized the emergence of Dev Containers as a pivotal innovation in software development. In this article, we will show you how to use them and share some tips and tricks to make the most out of them. It is from the Dev Containers Learning Trail for our developers at Zweitag. You may see some assumptions such as using a Mac, macOS specific keyboard shortcuts, or using Docker Desktop, but by and large, everything should be applicable on Windows and Linux as well.
This article assumes that you have a project at hand, which is prepared for Dev Containers (a project that has a <code>devcontainers/devcontainer.json</code>. config file). We further assume basic knowledge of VS Code and Docker. If you don’t have a Dev Containers enabled project, you can play around with this simple Node.js Development Container example project.
Prerequisites
• Install Visual Studio Code (VS Code) and Docker Desktop on your MacBook.
• Install the Dev Containers extension in VS Code.
Open project
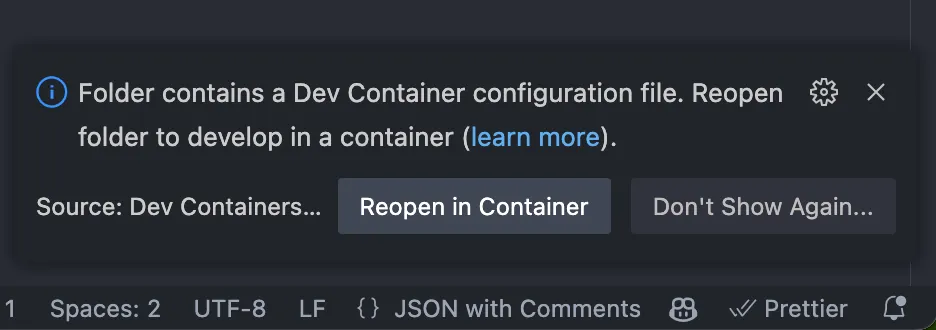
Ensure that Docker is running. Open the project in Visual Studio Code. A notification will appear at the bottom right, click on “Reopen in Container”:
Alternatively you can open the command palette <code>(CMD + SHIFT + P)</code> and select “Dev Containers: Reopen in Container”. This will build the container (if necessary), start it, and open VS Code in it. You can see the running container in your Docker Dashboard or with a <code>docker ps</code>. The workspace files in the container are the same as your local files! They are mapped there by a Docker bind mount. Any changes you make to the files in your container are also visible on your host machine.
Inside the container
You can develop in the container with VS Code, just as you would locally. The “usual” tools like a zsh shell (with some niceties), Git, the programming language which the container is based on (e.g. Ruby, Elixir, Node.js, Python), and more, are available in the VS Code terminal.
When you start a web server (like Ruby on Rails, Elixir/Phoenix, etc.), VS Code maps the port to your local host, so that you can open the web app in your local browser. See the Port mapping section. When you want to start a GUI application like a Chromium browser, the Cypress UI or the Playwright UI, a little bit more trickery is involved. See the GUI tools section.
Port mapping
When you start a web server or any other process that opens up a port, VS Code maps the port to your local host. In most cases, this is automatically detected. But it may also be configured statically in <code>devcontainer.json</code>. In the Ports view, you can see all forwarded ports, and you can open a port in the browser (which only makes sense for web servers, of course).

You can also manually add a port to be forwarded, like the database server or a VNC server. This allows tools on your local host like a database util or a VNC viewer to connect to it. If the port to be forwarded is already in use on your local host, VS Code will automatically increment the local port until it finds a free one.
GUI tools
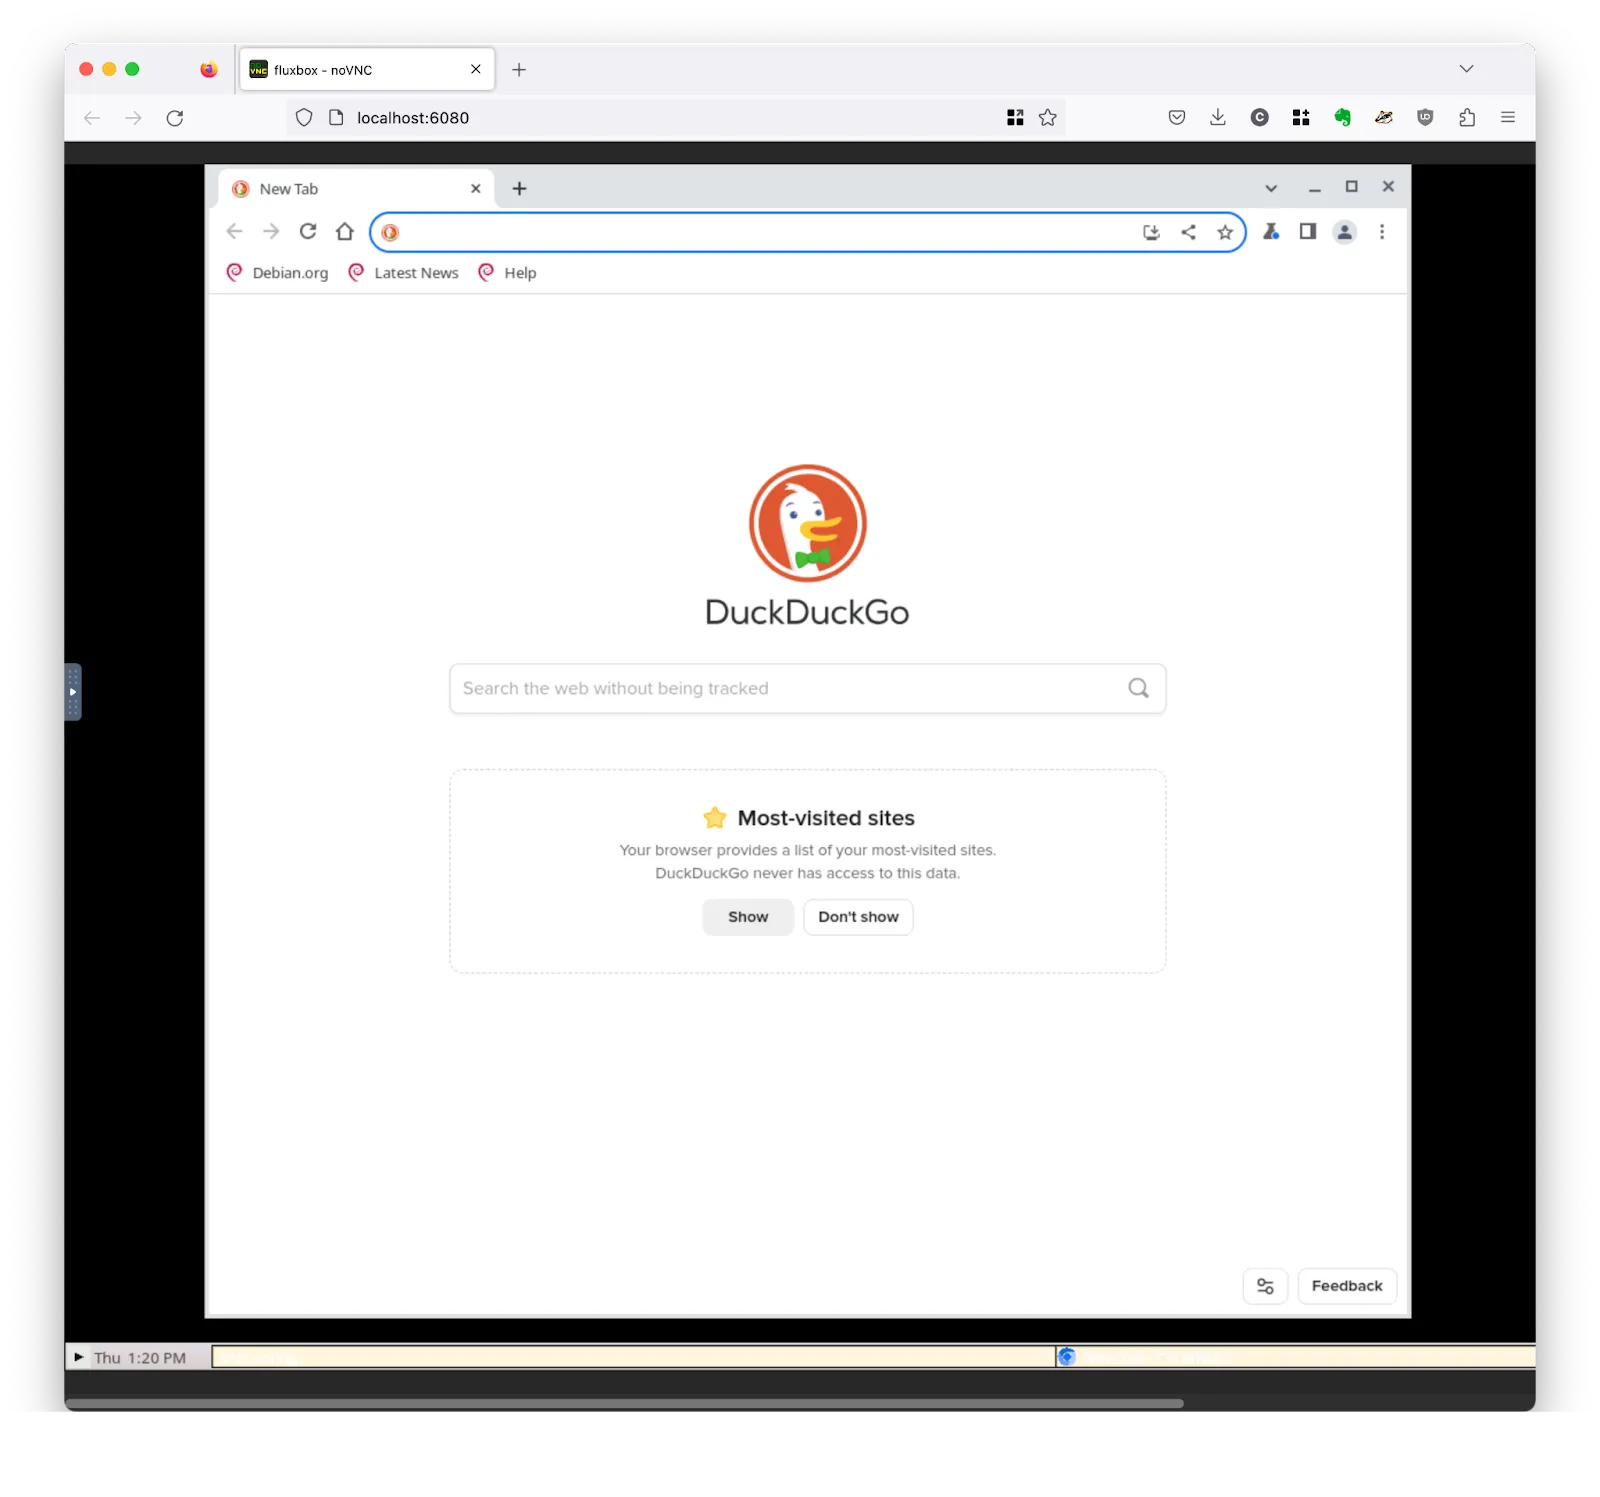
If there are GUI applications installed in the container, like a Chromium browser, the Cypress UI or the Playwright UI, they will open up in the container. To see them, you need to VNC into the container. Not every Dev Container supports this, but for our Zweitag Dev Containers we usually have taken care of it, by using the Light-weight Desktop feature.
• From the Ports view you can open a noVNC browser window. The password is secret.
• Or you can add port 5901 and connect a local VNC viewer (like TigerVNC viewer) against it.
• See the <code>portsAttributes</code> section in <code>devcontainer.json</code> to see the available ports in the container.
Rebuilding the container
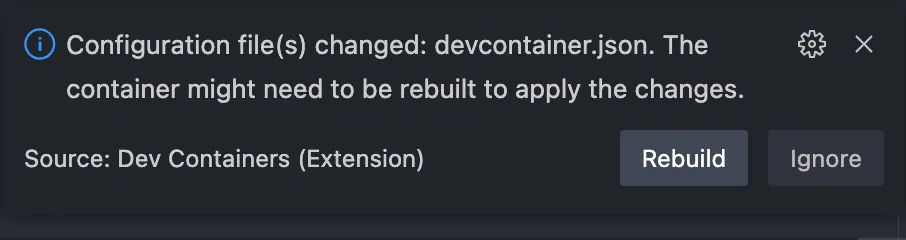
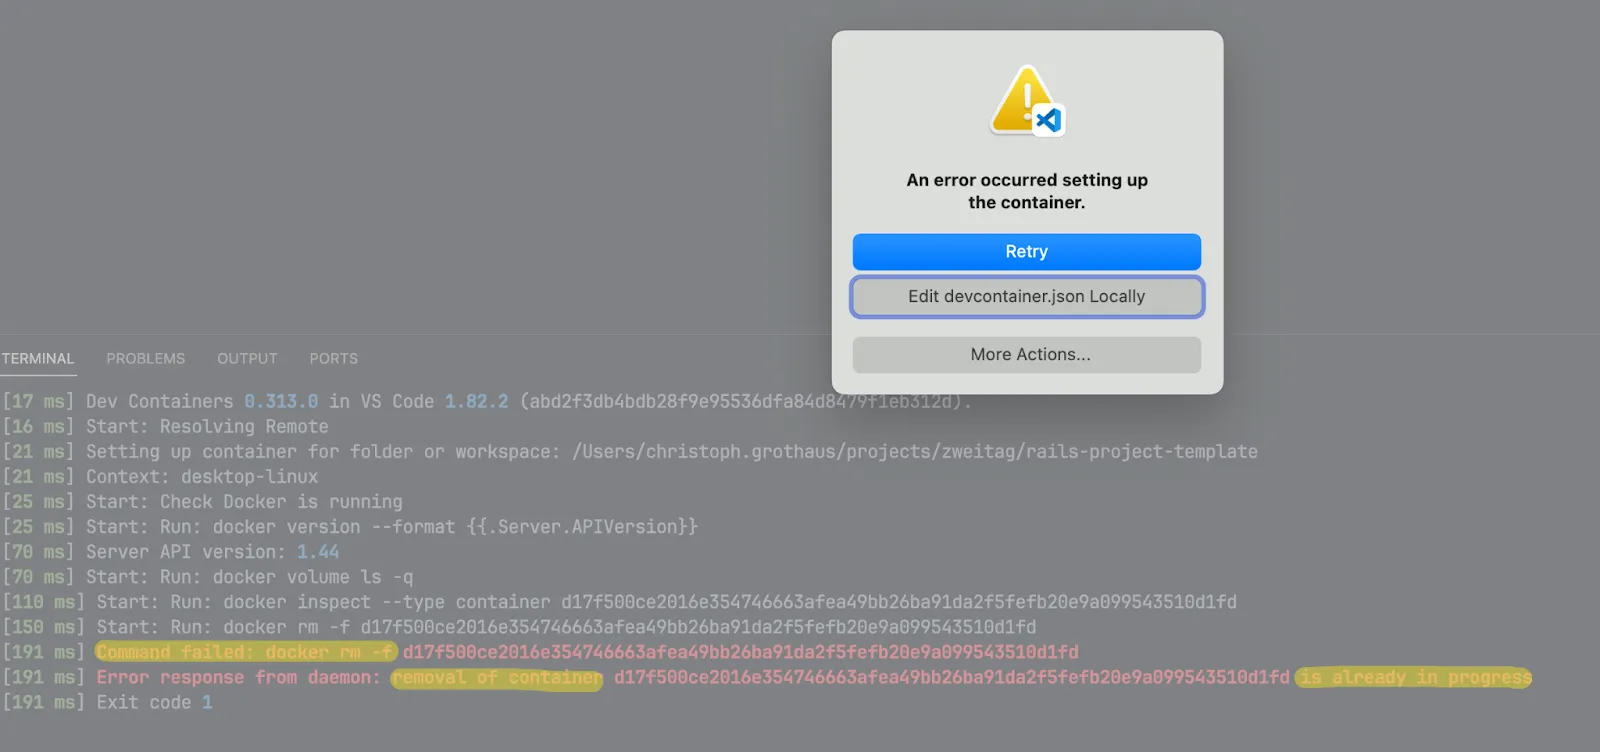
The Dev Container, once built, stays on your machine. Sometimes you may want to rebuild it from scratch. Use the “Dev Containers: Rebuild Container” command. VS Code may even detect on some occasions that a rebuild is necessary. However, you cannot rely on this detection every time, I also get this message even though I know that the configuration didn’t change.
Caveat: it may be that the current container does not shut down fast enough. You will see an error message <code>Command failed: docker rm and removal of container ... is already in progress</code>. It is fine to click Retry in this case.
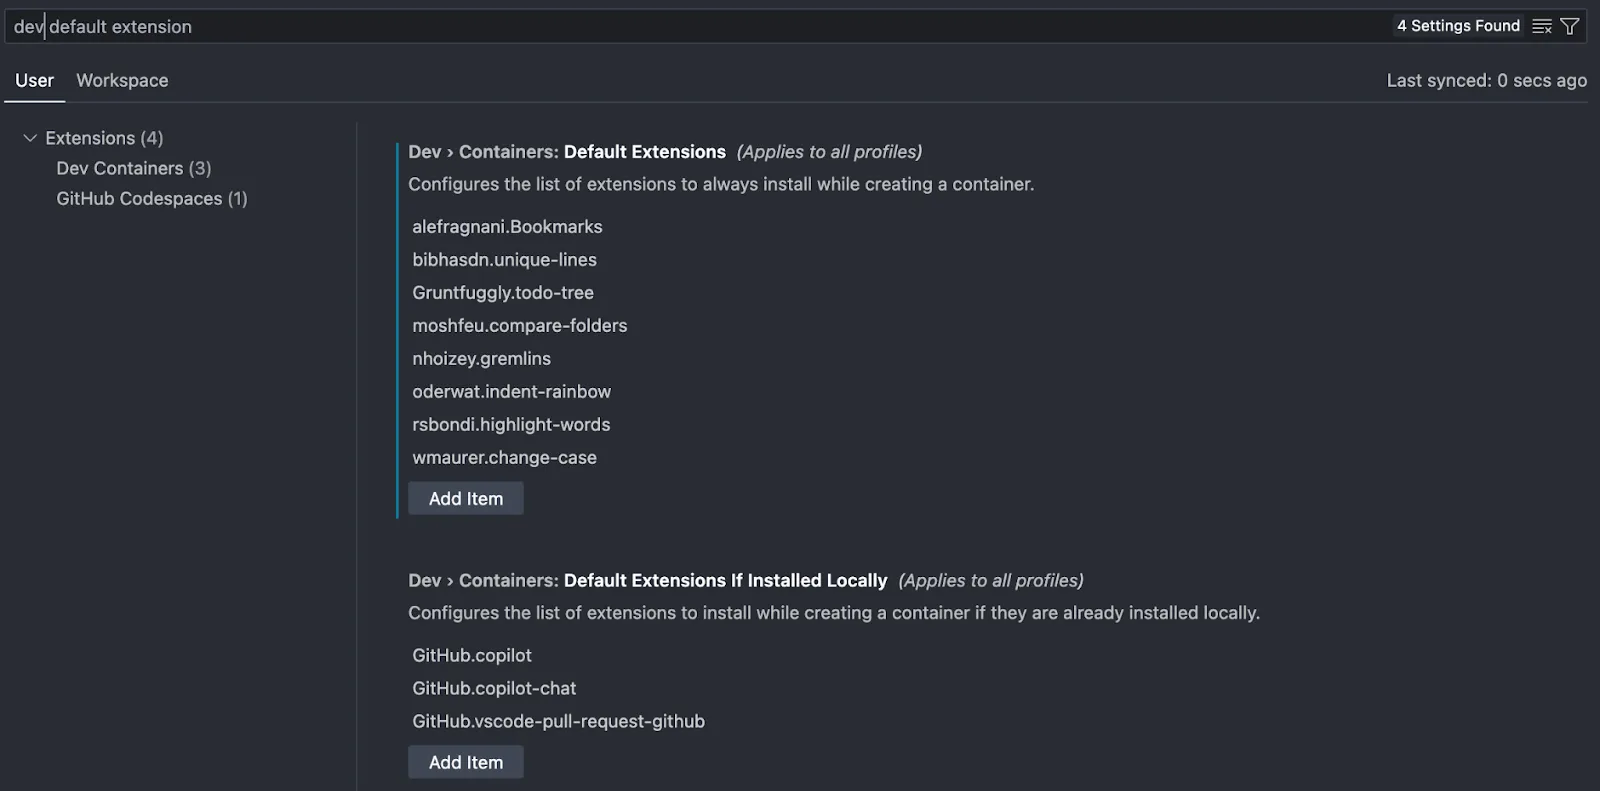
Installing your favorite VS Code extensions in the container
If you happen to have some favorite VS Code extensions, that you want to install in every Dev Container (besides those defined by the container configuration file <code>devcontainer.json</code>), you can configure them in your VS Code user settings (since v1.85):
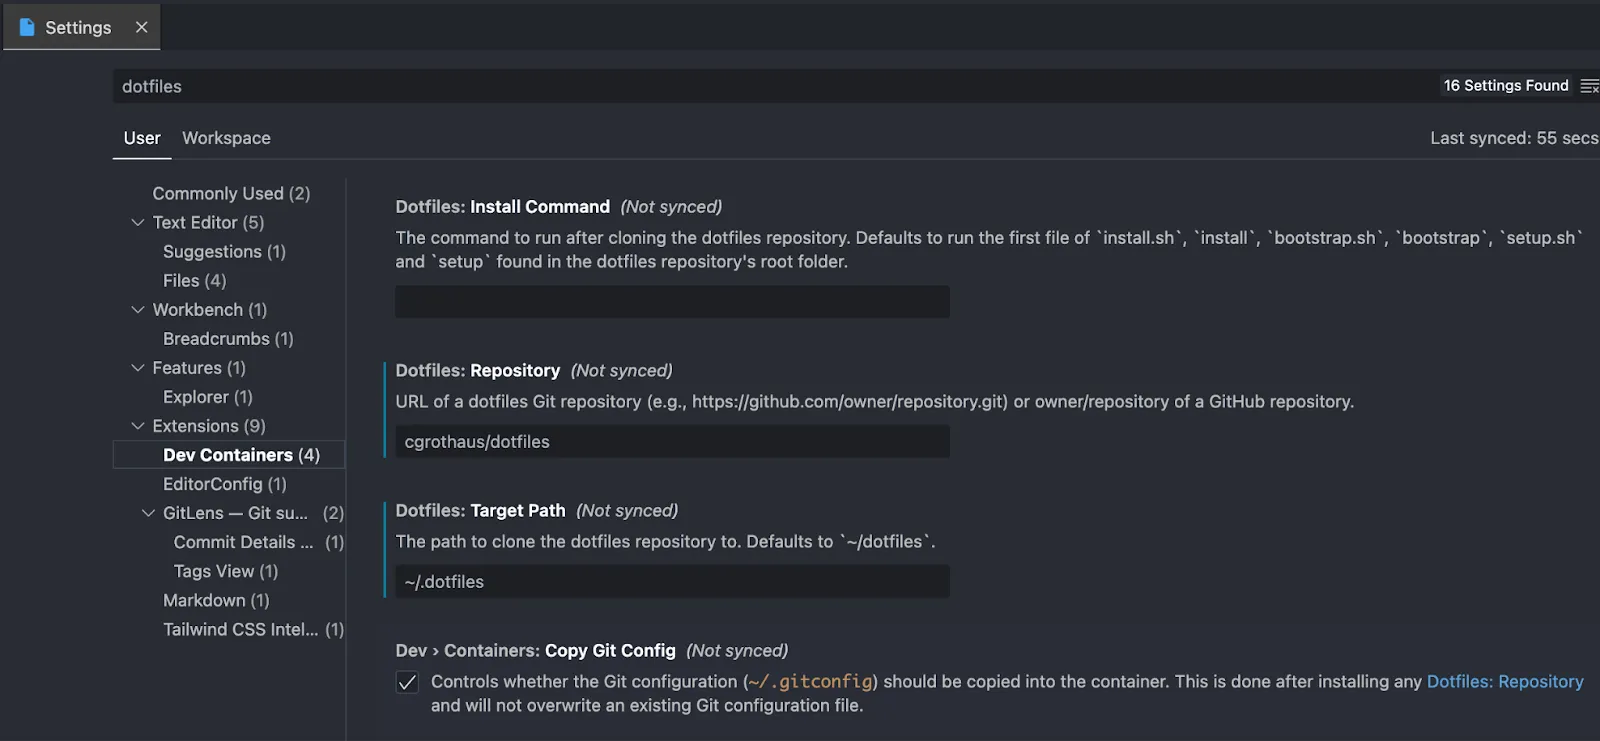
Dotfiles support
If you happen to have a dotfiles repository (I recommend this approach btw.), you can configure VS Code to apply your dotfiles inside the Dev Container:
Caveats and Troubleshooting
Port forwarding: if the port to be forwarded is already in use on your local host, VS Code will automatically increment the local port until it finds a free one. This may cause problems:
• For a Vite dev server serving assets (such as Javascript and CSS files), our apps are not designed for a dynamically changing port. You may get a warning in VS code when you start the server (when we configure <code>requireLocalPort</code> in <code>devcontainer.json</code>). In any case, close your Dev Container, close the other application using the port, and open your Dev Container again.
• For a Rails app, it’s potentially the same problem if the configuration of the development environment is tied to the server port somewhere (e.g. a CORS header configuration).
• For a tool that stores connection information, such as a database tool, you will need to reconfigure the connection if the port is different.
• If this happens frequently in your projects, we could discuss using different ports across our development projects.
Operating system or hardware architecture specific files in your workspace: our MacBooks run macOS, inside the Dev Container we run a Linux. Some tools leave their traces in the workspace files. Developing against the same workspace, alternately locally and inside a container, can cause problems. Some examples:
• Node modules: when you <code>npm install</code>, the files in your <code>node_modules</code> folder may only work on the system where you did the installation. If you switch systems, you should <code>npm clean install</code>.
• Elixir packages that compile native code (NIFs): the compilation results are stored in the package folder in your <code>deps</code> folder. If you are switching systems, you should clean these packages, like this: <code>mix deps.clean appsignal file_system && mix deps.get && mix deps.compile appsignal file_system</code>.
Github Codespaces
GitHub Codespaces is a service that allows you to create, use, and share development environments in the cloud. It utilizes Dev Containers to provide a pre-configured, disposable workspace with all the necessary tools needed to develop and run a project. It is billed per usage.
You can develop in a Codespace from your local VS Code. Install the GitHub Codespaces VS Code extension, open the command palette <code>(CMD + SHIFT + P)</code> and type “Codespaces:” to get commands to create a Codespace, connect to it, stop it, delete it, and more.
Alternatively you can visit https://github.com/codespaces/ to manage your Codespaces. You can even start a development session there, which opens a version of VS Code in your browser with some feature limitations.Port mapping works the same on Github Codespaces compared to running the Dev Container in your local Docker. When you start a web server in the container, you can access from your local browser. If you happen to have a dotfiles repository, you can configure dotfiles support from your Github settings. See https://docs.github.com/en/codespaces for more documentation.

Conclusion
As we reach the end of our journey through using Dev Containers, we hope you are inspired to try out this technology. We encourage you to take the leap and start experimenting with the example project provided or to incorporate Dev Containers into your current projects. Please stay tuned for a follow-up article in which we will share our learnings on how to set up a Dev Container configuration.